Creating a PHP (Laravel) Application with MySQL using Docker and Docker Compose.


Before we embark on this exciting journey, I'd like to assume you already have a basic understanding of PHP, Laravel and Docker – from installing it to understanding its fundamental usage. However, if you don't have it installed, head on to Docker to download it.
Why do we need Docker?
Docker is a powerful tool that addresses several challenges in software development and deployment, making it an essential component of modern software development practices. Here are some key reasons why Docker is widely used:
Dependency Management: Docker eliminates "it works on my machine" issues by ensuring that all dependencies required by an application are included within the container. This reduces conflicts and compatibility problems.
Fast Deployment: With Docker, you can create an image once and deploy it to different environments. This reduces the time and effort required for deployment, enabling faster development cycles and quicker time-to-market.
Isolation and Portability: Docker allows you to package applications and their dependencies into a standardized unit called a "container." Containers provide isolation, ensuring that an application runs consistently regardless of the environment. This makes it easier to move applications between different environments, from development to production, without worrying about compatibility issues.
Efficiency: Docker enables efficient utilization of system resources. Since containers share the host OS kernel, they are lightweight and start quickly. This makes it possible to run multiple containers on a single host, improving resource utilization and reducing overhead.
Consistency: Containers ensure consistent application behaviour across different development, testing, and production environments. Developers can be confident that what works on their local machine will work the same way in other environments.
So, let's get started with the main business. Fire up your Docker desktop and head to your terminal of choice. Create a directory where you intend to keep your project and make sure to navigate to that directory using the trusty cd command in your terminal.
Quick note: No need to worry about having PHP or Composer installed on your machine; Docker is all you need right now.
Let's Dive into Laravel Installation using Composer
docker run -it --rm -w /var/www/html -v "$(pwd)":/var/www/html composer create-project Laravel/Laravel .
Feeling a bit lost? Let's break down this command:
We're running a Composer image interactively (
-it).After installing Laravel, the image will be removed (
--rm).Our working directory within the container is set to
/var/www/html(-w).We're binding the current directory on your host machine to the working directory within the container (
-v).
Now, behold! You've got yourself a fully-fledged Laravel project tucked neatly into a folder. Let's now shift our focus to crafting a Dockerfile.
Create a Dockerfile at the root directory of your project with these contents, check the comments for an explanation.
# Use the official PHP 8.2 with Apache base image
FROM php:8.2-apache

# Set the working directory within the container to /var/www/html
WORKDIR /var/www/html

# Copy the composer.json and composer.lock files from the host to the container
COPY composer.json composer.lock /var/www/html/

# Update package lists and install necessary packages
RUN apt-get update && \
    apt-get install -y \
    zip \
    unzip \
    git \
    libpq-dev \
    && docker-php-ext-install \
    pdo_mysql \
    && docker-php-ext-enable \
    pdo_mysql

# Copy Composer binary from another image layer to this image
COPY --from=composer /usr/bin/composer /usr/bin/composer

# Copy all files from the host's current directory to the container's /var/www/html directory
COPY . /var/www/html

# Set an environment variable to allow Composer to run as superuser
ENV COMPOSER_ALLOW_SUPERUSER=1

# Run Composer to install project dependencies, ignoring platform requirements
RUN composer install --ignore-platform-reqs

# Change ownership of certain directories to the www-data user (Apache)
RUN chown -R www-data:www-data /var/www/html/storage \
&& chown -R www-data:www-data /var/www/html/bootstrap/cache

# Enable the Apache rewrite module and update Apache's default site configuration
RUN a2enmod rewrite && \
    sed -i 's!/var/www/html!/var/www/html/public!g' /etc/apache2/sites-available/000-default.conf

# Expose port 80 for incoming HTTP traffic
EXPOSE 80

# Start the Apache web server in the foreground
CMD ["apache2-foreground"]
With PHP and Composer in the bag, it's time to bring in MySQL for the database and phpMyAdmin for database visualization. Enter Docker Compose to the scene!
Create your docker-compose.yml file on the root directory of the project.
Here are the contents of docker-compose.yml, see the comments for what they do
version: "3.9"

# Define the services that make up the application
services:

    # Webserver service configuration
    webserver:
        build: .
        container_name: webserver
        ports:
            - 8000:80
        volumes:
          - ./:/var/www/html  # Mount the current directory to the container's /var/www/html
          - /var/www/html/vendor  # Mount the /var/www/html/vendor directory
        depends_on:
            - db  # Depend on the db service

    # Database service configuration
    db:
        image: mysql:latest
        container_name: db
        volumes:
            - data:/var/lib/mysql  # Mount a volume for MySQL data storage
        ports:
            - 3306:3306  # Expose port 3306 for MySQL
        environment:
            - MYSQL_ROOT_PASSWORD=mysecret  # Set MySQL root password
            - MYSQL_DATABASE=todos  # Create a database named "todos"

    # Artisan service configuration
    artisan:
        build: .
        container_name: artisan
        entrypoint: ["php", "/var/www/html/artisan"]  # Set the entrypoint to run artisan commands
        volumes:
            - ./:/var/www/html  # Mount the current directory to the container's /var/www/html
            - /var/www/html/vendor  # Mount the /var/www/html/vendor directory

    # PhpMyAdmin service configuration
    phpmyadmin:
        image: phpmyadmin:latest
        container_name: phpmyadmin
        depends_on:
            - db  # Depend on the db service
        ports:
            - 8001:80  # Expose port 8001 for PhpMyAdmin
        environment:
            - PMA_ARBITRARY=1
            - PMA_HOST=mysql

# Define a named volume for MySQL data storage
volumes:
    data:
Connecting Your App to the Database
Now comes the thrilling part – connecting your app to the database. Since Docker Compose places all services on the same network, you can effortlessly use the name of your MySQL service as the host in your .env file:
DB_CONNECTION=mysql
DB_HOST=db
DB_PORT=3306
DB_DATABASE=todos
DB_USERNAME=root
DB_PASSWORD=mysecret
Your DB_HOST now points to the MySQL service's name – which is 'db'.
Launching Your Containers
With everything in place, let's launch those containers:
docker-compose up -d // -d is to run the container in detached mode

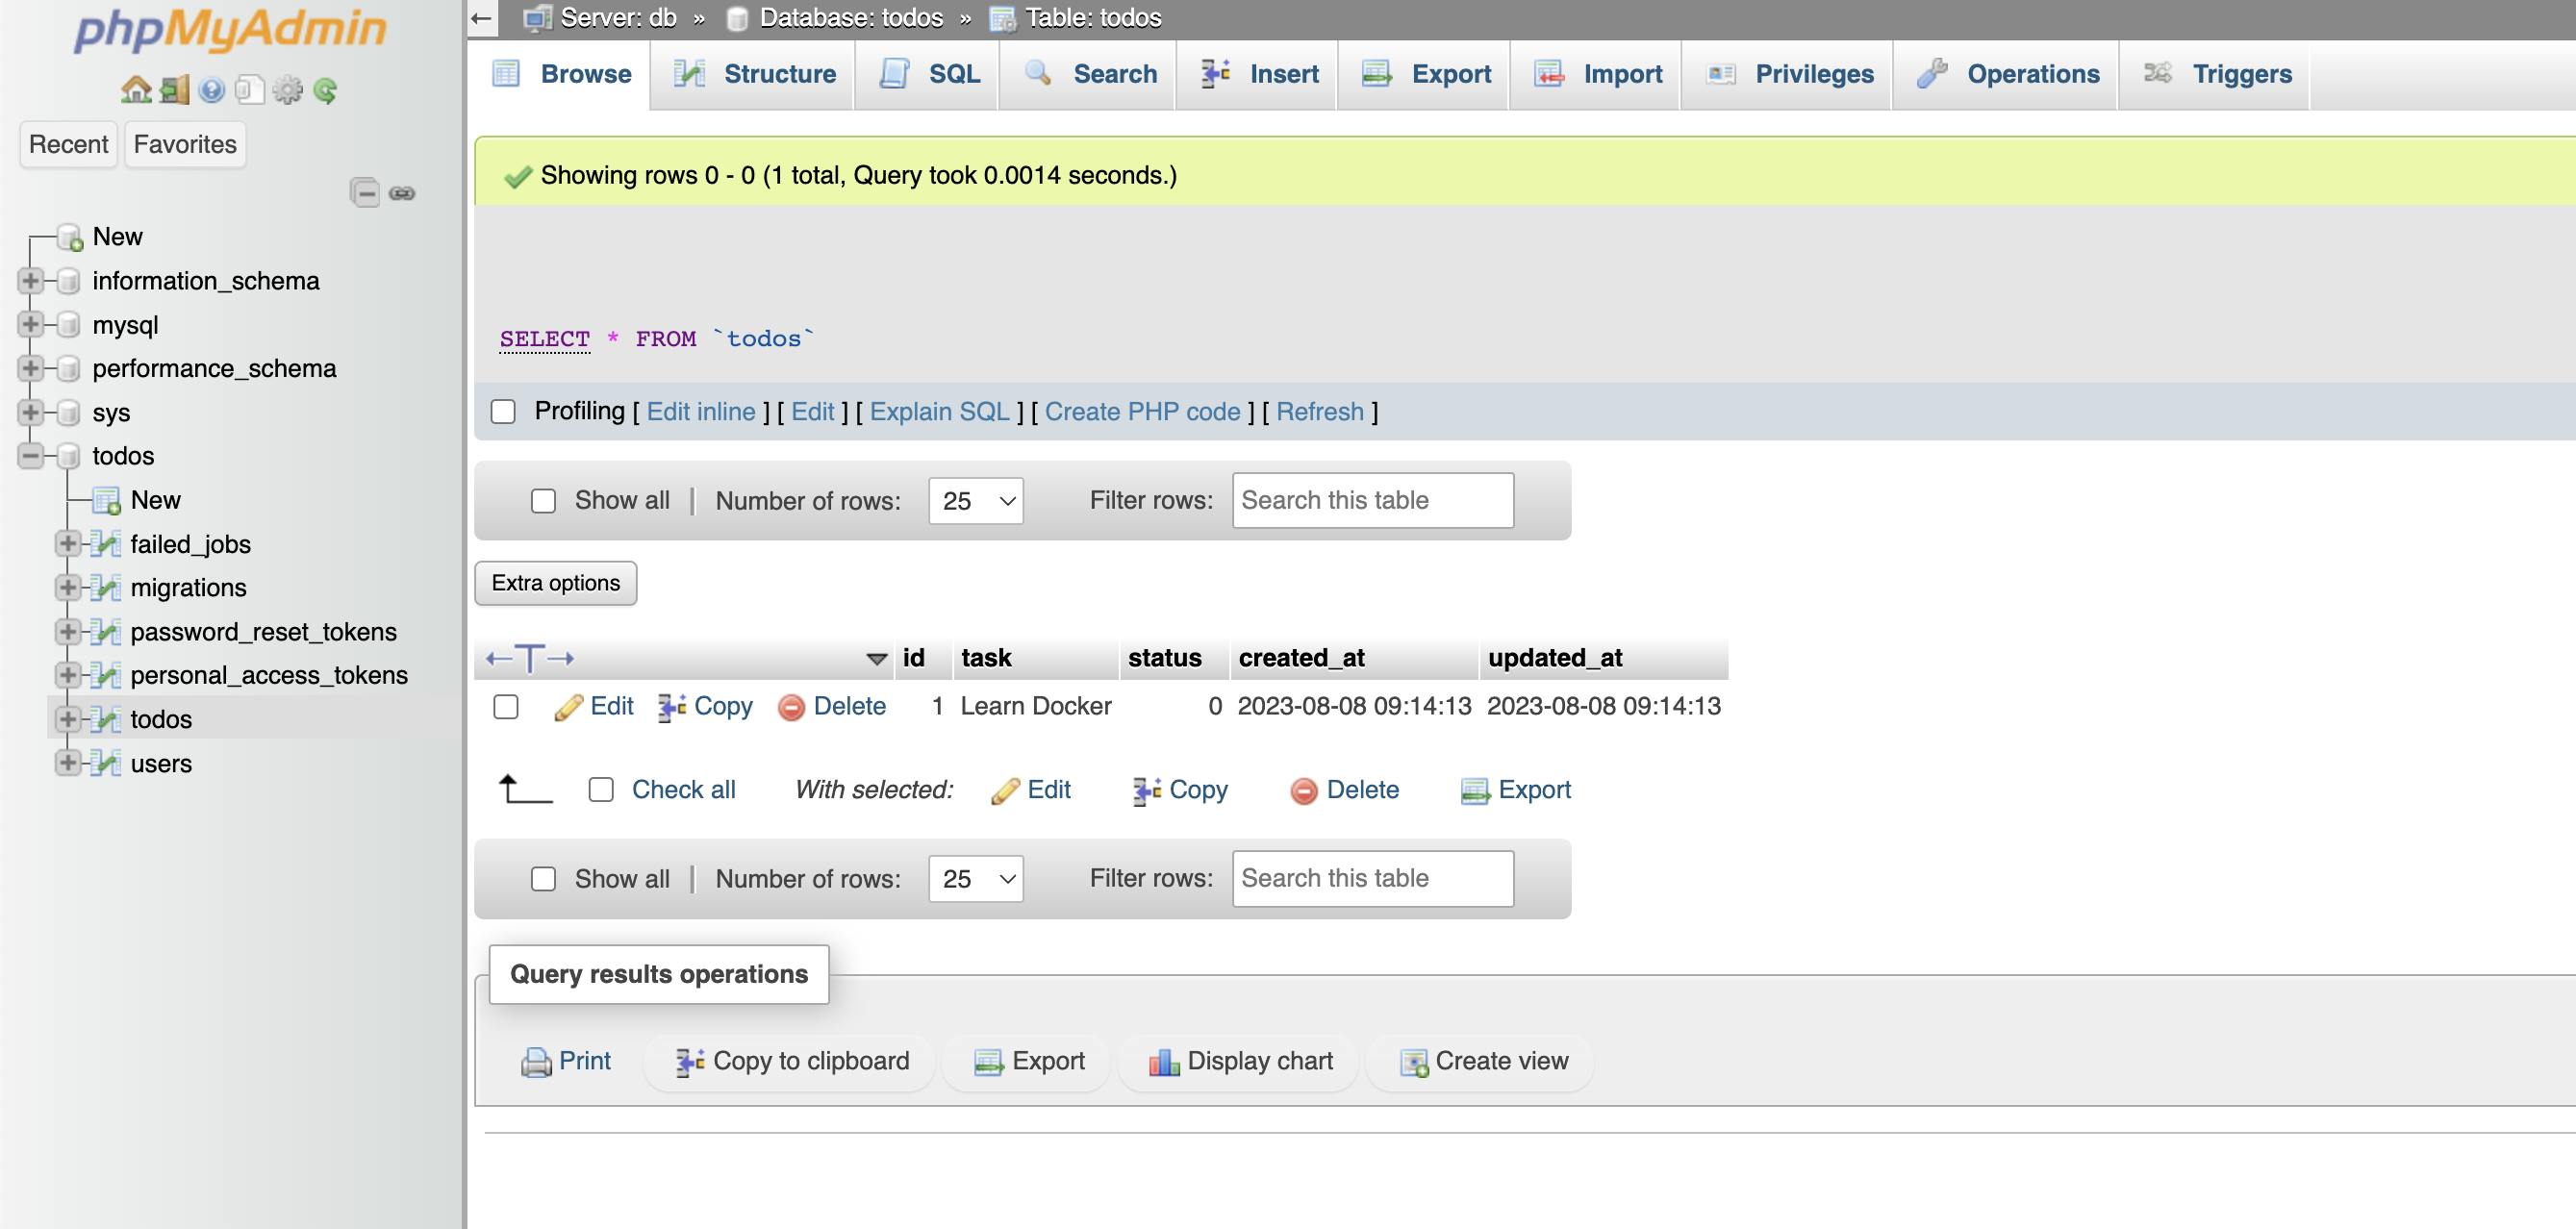
That's it! With all services up and running, let's perform migrations using the artisan service:
docker-compose run --rm artisan migration

And to access your app, head over to the mapped port, such as localhost:8000.
For managing your database data, phpMyAdmin's got your back on port 8001:
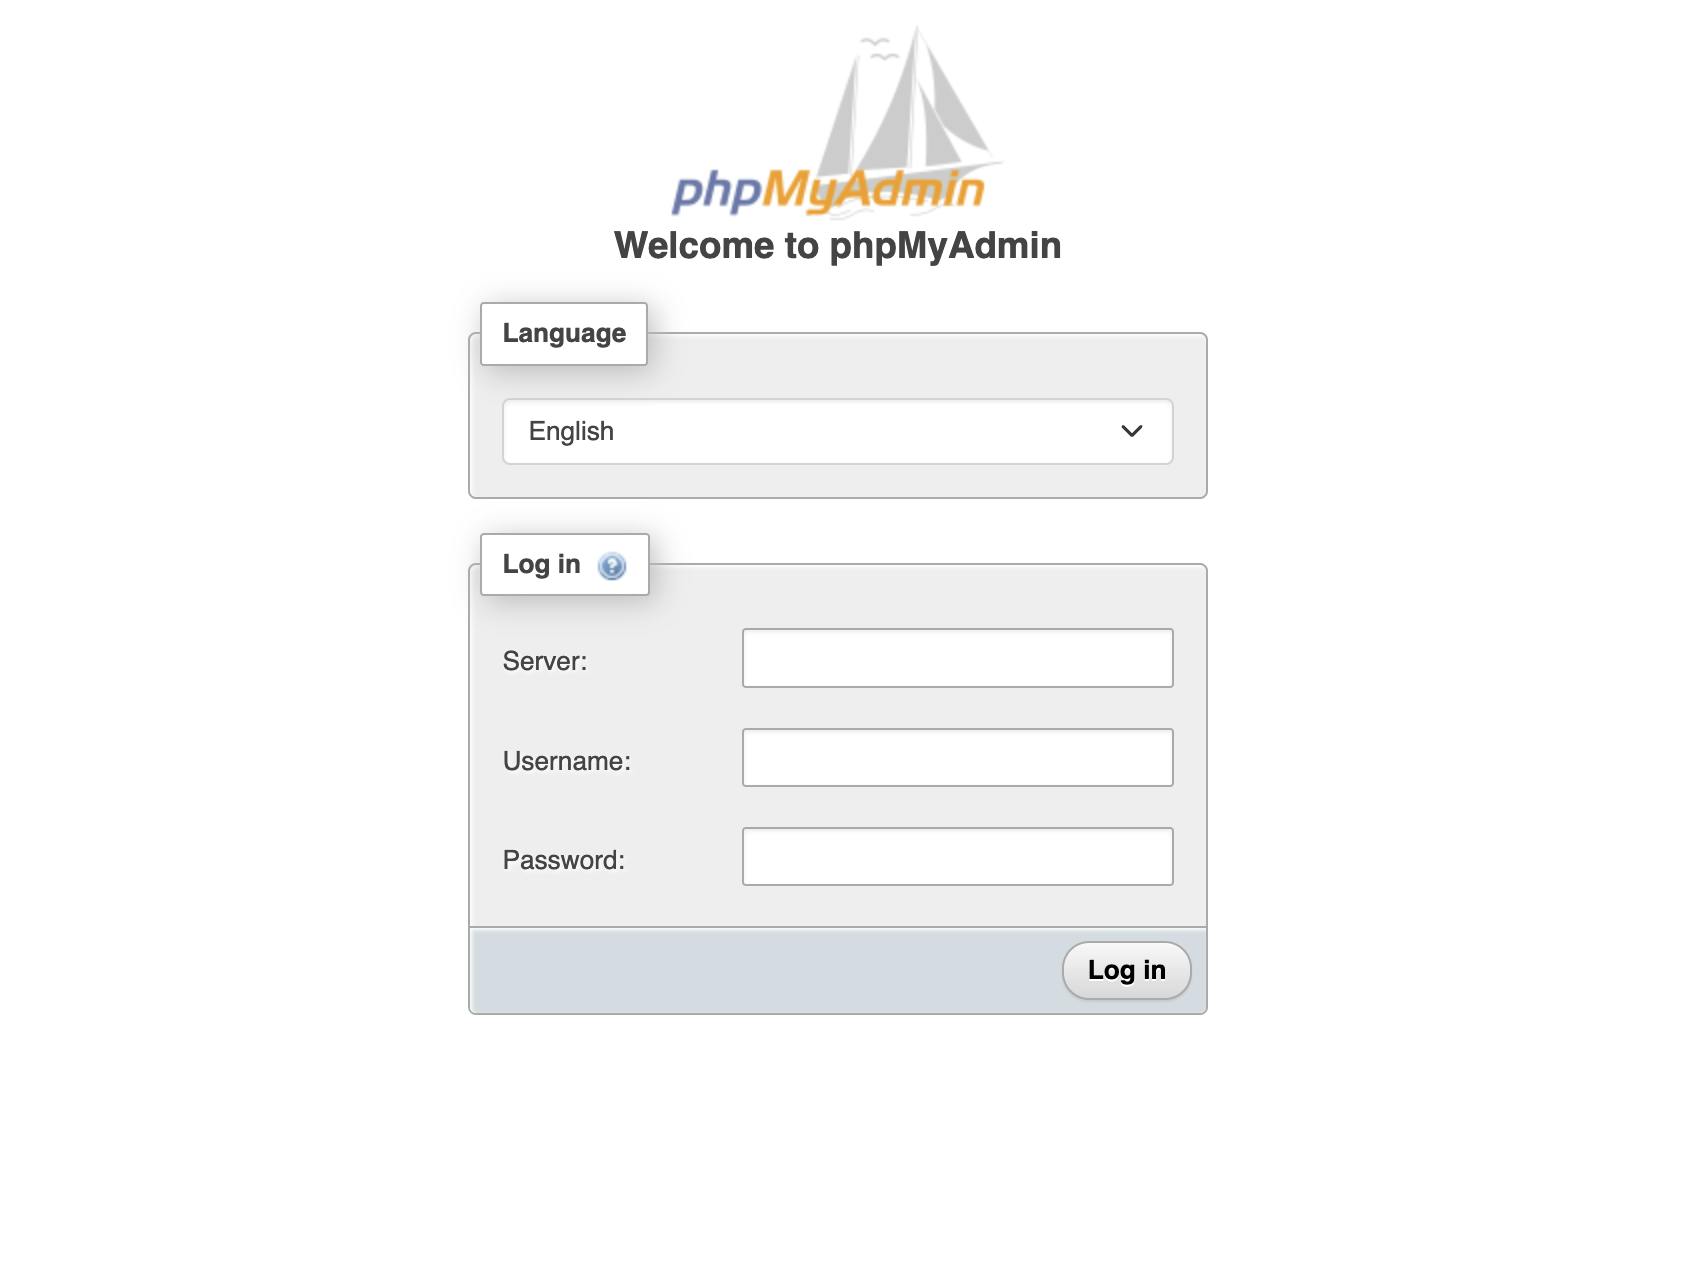
Remember, the server name is 'db', and your container name and credentials align with those you set for MySQL.
Conclusion
Congratulations, you've successfully navigated the Docker waters to set up PHP (Laravel), MySQL, phpMyAdmin, and Artisan, without the need to install them directly on your local machine. Docker and Docker Compose are the wizards making it all possible.
Feel free to drop your questions in the comment section. If you're keen on learning about pushing this setup to production using cloud services like AWS, let me know in the comments as well.
And that's a wrap on our Docker-powered journey! 🚀🐳